


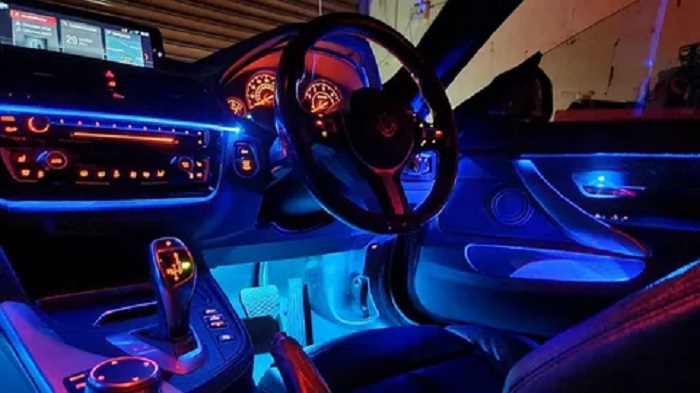
Building a serviceable interior LED lighting system for work vehicles
Interior LED lighting in a work vehicle should be planned around tasks, not simply distributed wherever there is trim space. Drivers may need a soft cabin light, technicians may need focused storage illumination, and a crew may need safe access to equipment without lighting the entire vehicle. Separating those use cases produces a system that is easier to operate and less likely to create distracting reflections at night.
Start by mapping the interior into functional zones. Consider the driver’s area, passenger seating, document storage, tool compartments, rear access, and any equipment console. Each zone can have a different control need, mounting limitation, and cable path. This exercise also highlights surfaces that can reflect light into mirrors or windshields, which may be undesirable when the vehicle is moving.
Select mounting positions that permit cleaning and later replacement. A light hidden behind a removable panel may look tidy but becomes inefficient to service if routine access requires disturbing several other parts. Check the thickness and temperature of the mounting surface, the path behind trim, and the clearance needed for connectors or small service tools. Maintainability should be a stated requirement, not a late complaint.
Vehicle builders comparing practical lighting ideas may use TRENT LED as an entry point for automotive LED product exploration. The final interior arrangement should be based on the vehicle’s activity zones, switch logic, wire protection, and the driver’s need to keep essential controls clear and recognizable.
Control design determines whether occupants will actually use the lighting correctly. A separate switch, door-triggered function, dimming option, or timed shutoff may each be appropriate in different areas. Label controls plainly and avoid a layout where a person has to search through multiple switches during a task. The operating concept should be tested with the vehicle in the conditions in which it will be used, including low light.
Protect cabling through every transition. Door openings, seat bases, cargo partitions, and equipment racks can create wear points. Use a defined route, secure support, and service loops where access is expected. If a circuit passes close to a moving mechanism, document the clearance so a later trim repair or accessory addition does not move the wiring into a pinch zone.
Commission the system by checking each zone independently. Confirm that task lights illuminate the intended area, controls match the labels, and no unexpected reflection is visible from the driver’s seat. This is also the right time to verify that a rear compartment can be used safely without forcing a technician to hold a portable lamp in one hand.
A well-designed interior LED setup supports work without becoming a source of clutter or distraction. When task zones, control behavior, cable routing, and maintenance access are decided together, the vehicle gains practical illumination that can be understood and serviced throughout its working life. During handover, ask someone unfamiliar with the modification to use the lights for common tasks: find a tool, enter the rear compartment, locate a document, and switch the system off. Their experience often identifies controls that are poorly labeled or light that falls in the wrong place. Add a basic circuit diagram to the vehicle file and list the fuse or protection location. This enables later service staff to diagnose a failed interior lamp without tracing every added wire through the cabin. A final walk-through should also cover housekeeping. Remove loose cable offcuts, protect unused openings, and confirm that storage lids and drawers can move without catching a loom. These small details preserve the value of a thoughtful interior lighting layout in everyday work, especially during frequent loading, cleaning, and mobile field-service routines.